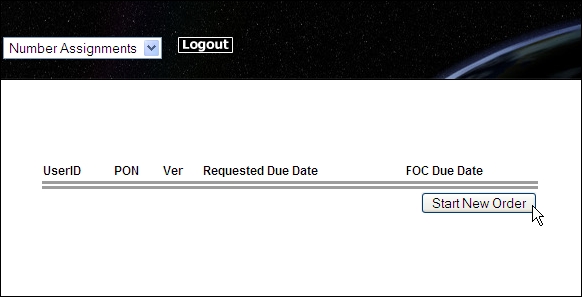
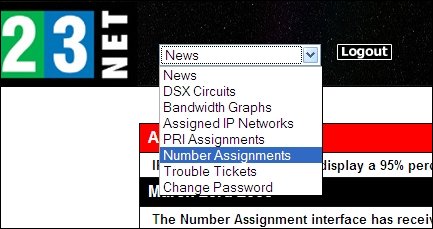
| Step
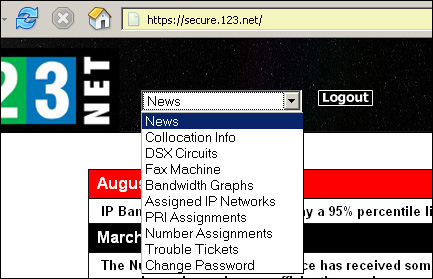
1: Login into the Web Portal and Select the "Number Assignments" Sub-interface.
If the "Number Assignments" option is not visible, please have your Company
Administrator grant access. |
 |
|
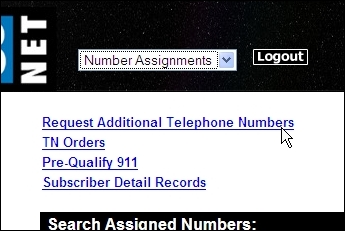
Step 2: Click on "Request Additional Telephone Numbers." |
 |
|
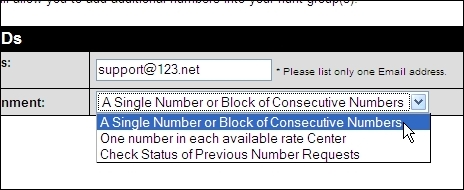
Step 3: Add an Email Address to recieve a confirmation Email upon
successful Reservation.
Select "A Single Number
or Block of Consecutive Numbers" from the Drop-down Menu. Click
"Continue." |
 |
|
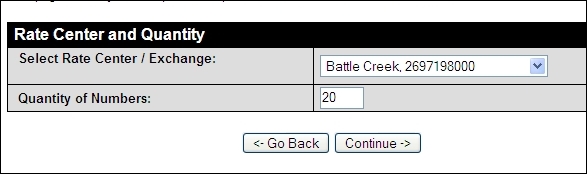
Step 4: Select the
appropriate Rate Center in which you would like to reserve the Numbers
from the Drop-down Menu. Fill in the quantity of Numbers you would
like. Click "Continue." |
 |
|
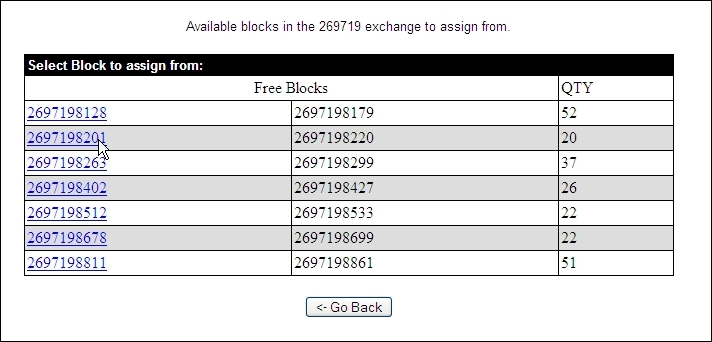
Step 5:
A list of available
Number Blocks in the selected Rate Center will now be visible.
Click on the Number Block that you wish to assign your Numbers from.
(In the example, I chose the Block that had the exact amount of Numbers
I wanted, as that will make the next step go more quickly.) |
 |
|
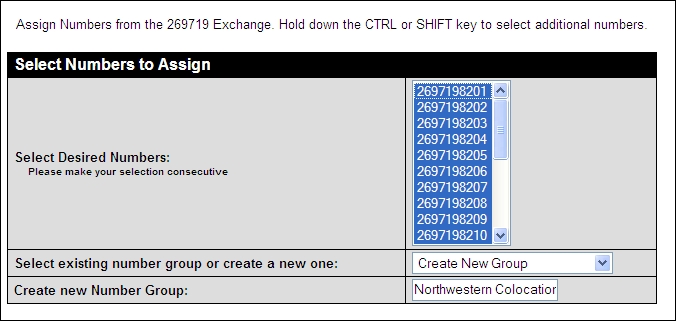
Step 6:
Select your desired
consecutive Numbers from the list. (In this example, all 20.)
If these Numbers will be added to an existing Number Group select it
from the Drop-down Menu, click "Continue" and skip to the next Step.
If these Numbers will be assigned to a not yet existing Number Group,
leave the Drop-down Menu as is and type the name of the new group below.
Click "Continue." |
 |